Introduction to Old-Fashioned Butter Mints
When it comes to nostalgic sweets, old-fashioned butter mints steal the spotlight. These delightful confections have graced special occasions for generations, turning up at weddings, holidays, and family gatherings. But why are these mints so beloved? Let’s explore!
Why are Old-Fashioned Butter Mints a beloved treat?
Old-fashioned butter mints are a classic for good reason. Their creamy texture melts in your mouth, delivering just the right blend of sweetness and freshness. This charming treat is often associated with comfort, evoking memories of grandmothers whipping up batches in cozy kitchens. Their simple yet satisfying flavor profile allows them to complement a variety of occasions and palettes.
Here are some aspects contributing to their popularity:
-
Versatility: Whether you’re looking for a refreshing palate cleanser after a meal or a sweet treat for your dessert table, old-fashioned butter mints fit the bill perfectly. You can dress them up in elegant packaging or serve them casually in a glass dish—either way, they’re sure to please guests of all ages.
-
Customizable Flavors: While the traditional butter mint flavor is delightful, the beauty of making your own is that you can experiment with different extracts like peppermint, spearmint, or even chocolate. This flexibility makes the mints a fun project to tackle with friends, offering a unique twist on a classic recipe.
-
Simplicity of Ingredients: The ingredients list for old-fashioned butter mints typically includes just a handful of items: butter, powdered sugar, flavoring, and food coloring. This simplicity not only makes them easy to whip up, but also allows for tasty variations. You can find recipes on sites like Taste of Home or Food Network that showcase different takes on this beloved confection.
So, are you ready to dive into the world of homemade old-fashioned butter mints? Follow along as we explore the full recipe and tips to make these delightful treats right in your kitchen. You’ll be impressing friends and family in no time!
Ingredients for Old-Fashioned Butter Mints
When it comes to making old-fashioned butter mints, the ingredients are simple yet essential. These delightful little treats are perfect for a variety of occasions, from weddings to casual gatherings, and they’re surprisingly easy to whip up! Let’s dive into what you’ll need:
Essential Ingredients
- 2 tablespoons unsalted butter: This is the star ingredient, giving your mints that rich, creamy flavor.
- 2 cups powdered sugar: A must-have for sweetness and that distinctive melt-in-your-mouth texture.
- 2 tablespoons milk: This helps achieve the right consistency.
- 1/2 teaspoon peppermint extract: For that refreshing minty taste—feel free to adjust based on your preference!
- Food coloring: Pick any color to make your mints festive and fun!
- 1/4 teaspoon salt: Just a pinch, to balance the sweetness.
With these simple ingredients, you can create old-fashioned butter mints that will impress your friends and family. Need tips on techniques or alternatives? Check out the Joy of Baking. Happy mint-making!
Preparing Old-Fashioned Butter Mints
Ready to indulge in a sweet throwback? Old-fashioned butter mints are not just a treat; they’re a delightful reminder of simpler times. These creamy, melt-in-your-mouth candies can be a perfect addition to your dessert table or a charming gift for friends. Let’s walk through the steps to make these delightful mints that will surely leave a lasting impression.
Gather Your Ingredients
Before we dive into mixing and molding, let’s get organized! Here’s what you’ll need to whip up these nostalgic sweets:
- Butter (room temperature, for that creamy texture)
- Powdered sugar (to sweeten things up)
- Mint extract (for the essential flavor)
- Milk (a touch to soften the mixture)
- Food coloring (if you feel adventurous!)
It’s always helpful to measure out your ingredients beforehand. Not only does this streamline the process, but it also ensures you won’t get lost in the kitchen chaos. Plus, who doesn’t love a well-organized kitchen?
Mixing the Butter and Other Ingredients
Once your ingredients are gathered, it’s time to mix! Start by creaming the room-temperature butter in a bowl until it’s smooth and fluffy. This is crucial because it creates an airy texture that is the hallmark of classic butter mints.
Next, gradually add the powdered sugar while blending. Tip: Using a stand mixer can make this easier, and you won’t end up with sugar clouds hovering in the air. After the sugar is incorporated, add in the mint extract—start with about a teaspoon and adjust according to your taste. Don’t forget to include milk for that perfect consistency!
Feel free to check out Mint Extract Benefits if you want to explore why this simple ingredient packs such a flavor punch!
Forming the Mint Dough
Here’s where the magic happens! Once your batter is mixed well, it should be pliable and not sticky. If it’s too sticky, adding a bit more powdered sugar can help.
Knead the dough gently on a clean surface for a couple of minutes until it’s smooth. If you want to color your mints, now’s the time to knead in a few drops of food coloring. Imagine the delight of shaping a delightful pastel-colored mint! Cater to your style and theme.
Rolling and Cutting the Mints
It’s time to shape those adorable mints. You can roll the dough into small balls, or for a more polished look, use a rolling pin to flatten the dough to about ¼-inch thick.
Using a small cookie cutter (or knife), cut out shapes or simply slice into squares. There’s something wonderfully satisfying about this part—seeing those perfectly shaped mints! You may also want to enjoy the aesthetic look of your mints by arranging them on a decorative platter.
Drying Process
The final step in creating your old-fashioned butter mints is the drying process. Place your cut mints on wax paper or a cooling rack and let them sit at room temperature for about 12 to 24 hours. This part enhances the texture, allowing them to firm up and develop that classic minty flavor.
If you can resist the temptation to sneak one (or two) during the drying time, you’ll be rewarded with an even more delightful taste once they set properly.
Now that you’re well-versed in preparing old-fashioned butter mints, why not gather some friends or family to make this a weekend project? This recipe not only brings a nostalgic flavor to your palate but also creates memories in the making. Happy mint-making!
Variations on Old-Fashioned Butter Mints
When it comes to old-fashioned butter mints, the classics are delightful, but adding some twists can elevate them for special occasions. Let’s dive into some creative variations that are sure to impress your friends and family.
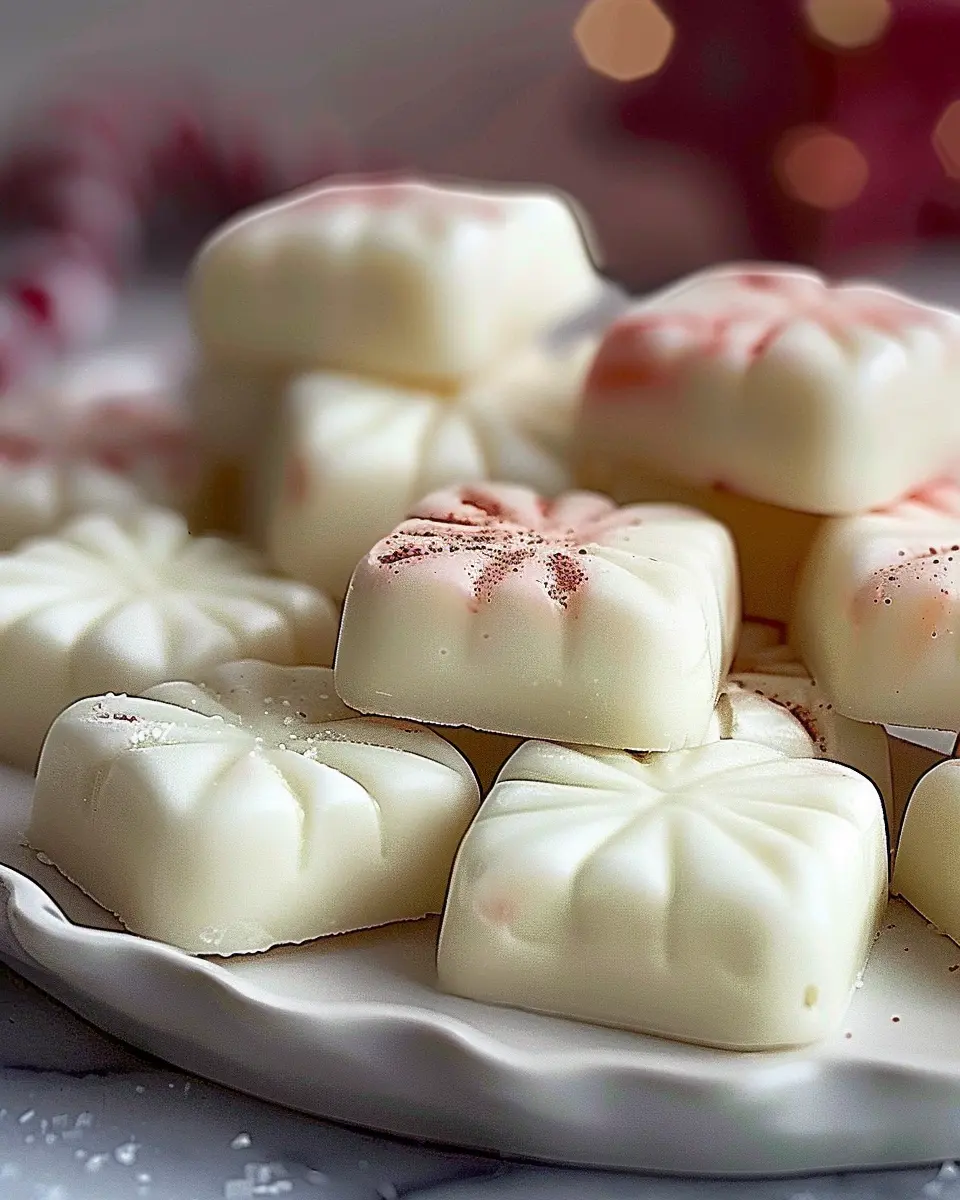
Holiday-themed butter mints
Why stick with plain mints when you can bring a festive flair to the table? For the holidays, consider infusing your old-fashioned butter mints with seasonal flavors.
- Peppermint: A true staple for winter, a splash of peppermint extract makes a refreshing addition. These would pair beautifully with a warm cup of cocoa or hot apple cider.
- Spiced Cinnamon: Add a hint of cinnamon and a little nutmeg for a warm, spicy kick that resonates with holiday vibes. They make a great treat for holiday parties or gatherings.
Not only are these flavors crowd-pleasers, but they also make beautiful gifts when wrapped up in cheerful packaging.
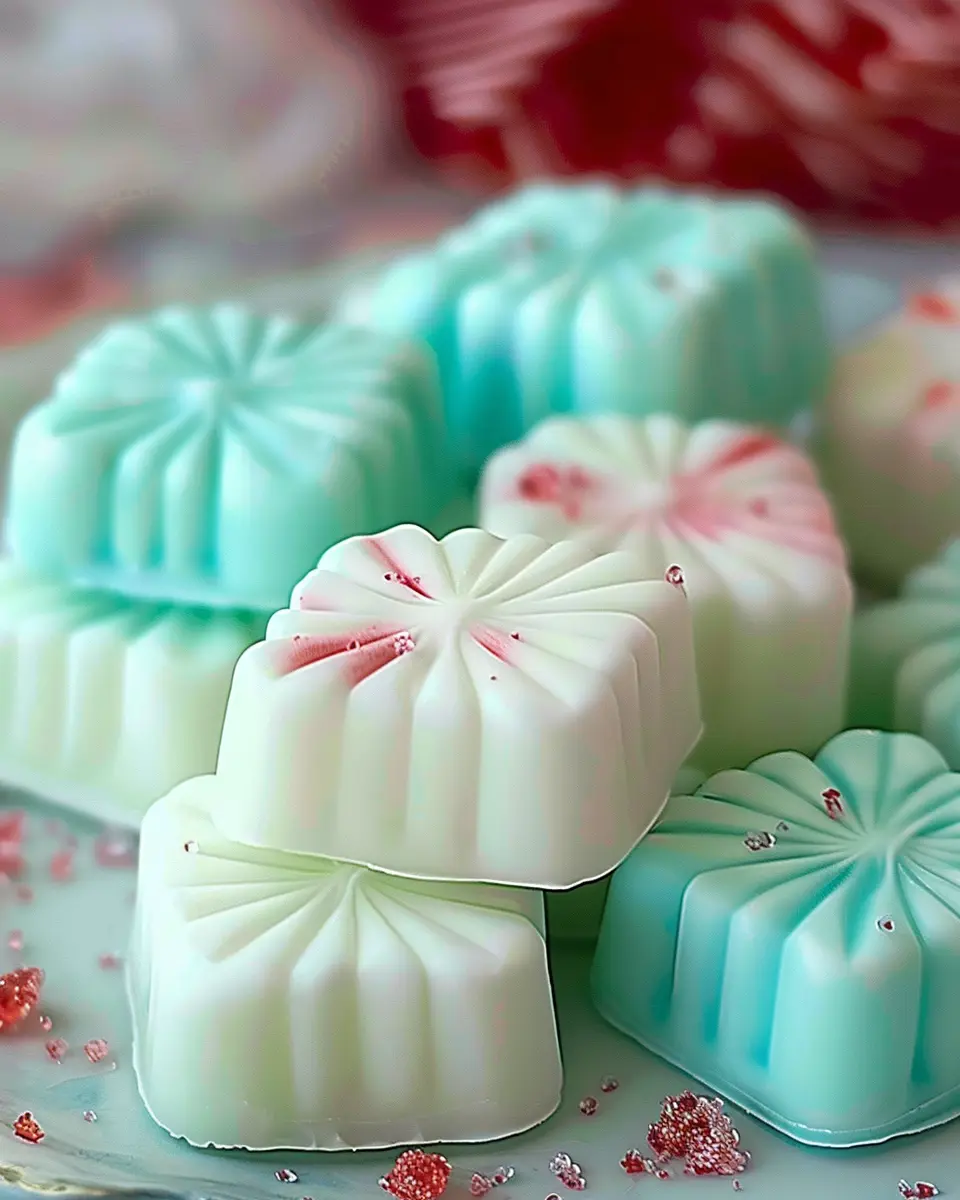
Colorful butter mints for celebrations
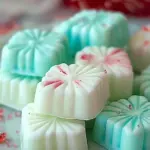
Let’s talk about adding some visual excitement to your old-fashioned butter mints. Who says mints have to be white?
- Brightly Colored Batch: Use food coloring to tint your mints in vibrant hues. Try a rainbow palette for a birthday party, or go with red and blue for a patriotic theme.
- Flavor Infusion: Experiment with different fruit extracts like lemon or strawberry for a fruity twist. This not only adds flavor but also allows you to match colors to your event theme.
Don’t forget to get creative with molds—think heart shapes for anniversaries or star shapes for baby showers. Vivid, fun mints could be the highlight of any spread!
For more inspiration on holiday treats, check out resources from The Spruce Eats or Food Network.
By incorporating these variations, you’ll transform simple old-fashioned butter mints into delightful and memorable treats that elevate any occasion!
Cooking Tips and Notes for Old-Fashioned Butter Mints
Making old-fashioned butter mints is not just about following a recipe—it’s about creating little bites of nostalgia! Here are some handy tips to ensure your mints turn out perfectly every time.
Mastering the Texture
- Humidity Alert: If you’re in a humid climate, it’s best to avoid making these mints on particularly muggy days. High moisture can affect the consistency of your candy.
- Watch the Temperature: The key to the perfect mint is achieving the right dough texture. It should be soft enough to shape but firm enough to hold its form. If the dough seems too sticky, add a bit more powdered sugar.
Flavor Adventures
Feel free to experiment with flavoring! While peppermint is classic, why not try vanilla, lemon, or even almond extracts for a unique twist? Just remember, start with a little and adjust to taste.
Storing Your Mints
For the best freshness, store your old-fashioned butter mints in an airtight container in a cool, dry place. If you’re planning to keep them longer, consider refrigerating them to maintain that delightful texture.
For additional tips, check out resources like The Spruce Eats for similar candy-making insights. Happy mint-making!

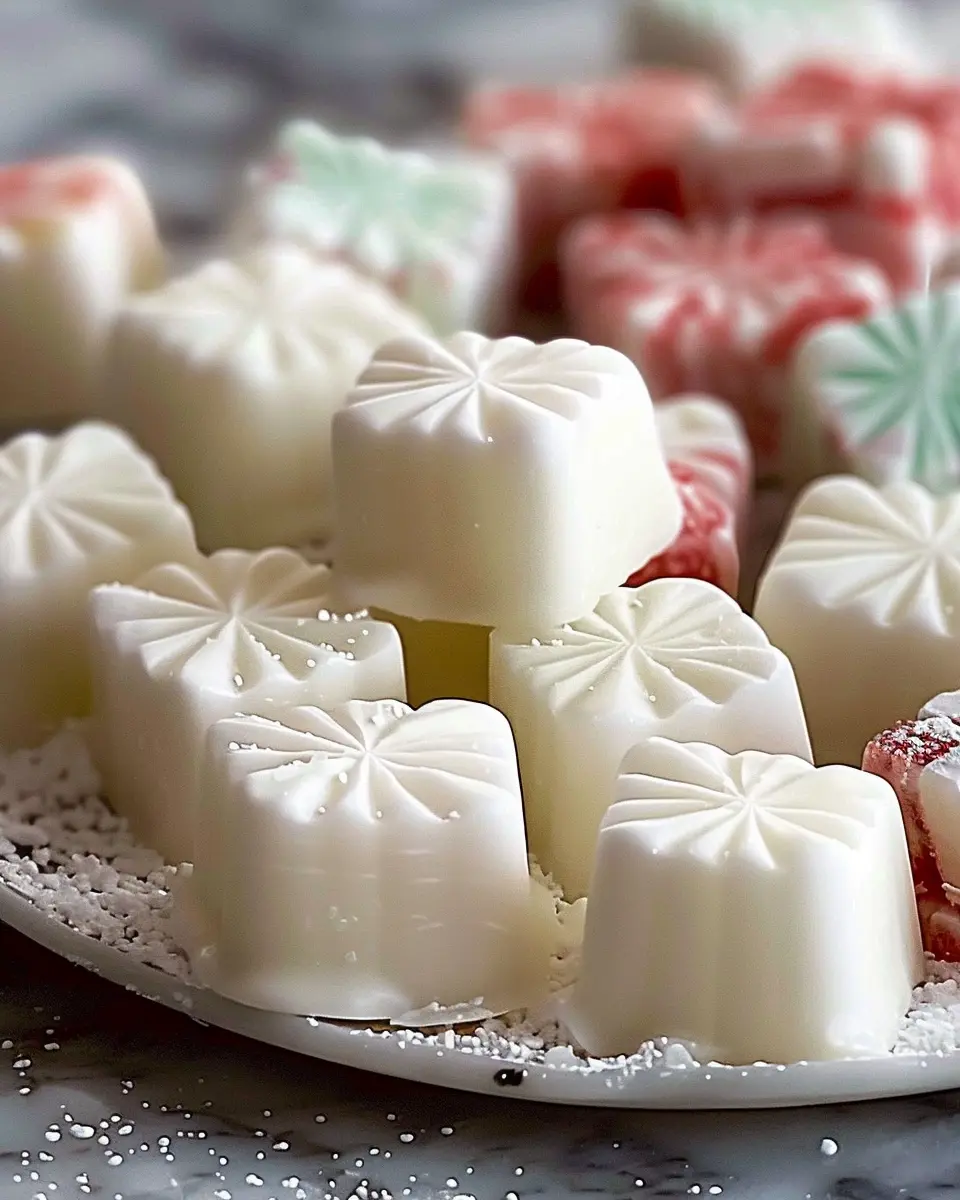
Serving Suggestions for Old-Fashioned Butter Mints
When it comes to serving old-fashioned butter mints, presentation can make all the difference. These delightful treats have a classic charm that can elevate any occasion. Here are some creative ways to serve them that can add a touch of sweetness to your gatherings.
Perfect Pairings with Desserts
Consider serving old-fashioned butter mints alongside your favorite desserts. They make an excellent complement to rich chocolates or a creamy cheesecake, offering a refreshing contrast.
- Dessert platters: Create a beautiful dessert board with an array of sweets and add your butter mints for that nostalgic touch.
- Coffee and tea events: Pair these mints with your go-to caffeine fix—they dissolve beautifully, enhancing the beverage experience.
Unique Serving Ideas
Feel free to think outside the box when it comes to presentation:
- Festive jars: Fill small mason jars with your old-fashioned butter mints and wrap twine around the neck for a rustic charm.
- Party favors: Package them in small bags for guests to take home as a sweet memento of your gathering.
If you’re hosting a special occasion, check out resources like TheKitchn for more serving ideas that will impress! With their beautiful packaging and classic taste, old-fashioned butter mints are sure to be a hit.
Time Breakdown for Old-Fashioned Butter Mints
Preparation Time
Making old-fashioned butter mints is a delightful experience that takes about 20 minutes. You’ll want to set aside some time for mixing and shaping the mints, ensuring that every piece is just right. Don’t rush this part; it’s where the magic happens!
Drying Time
Once you’ve shaped your mints, they need to dry. This stage usually requires about 2 to 4 hours, depending on your environment. If it’s particularly humid, it might take a little longer. I recommend checking them after a couple of hours to see if they have reached that perfect, firm texture.
Total Time
In total, you’ll spend around 2 to 4 hours and 20 minutes from start to finish. The wait can feel a bit long, but trust me, the end result is well worth it. These mints are not only a nostalgic treat, but they also make fantastic gifts. If you’re looking for more recipes or tips, consider exploring the culture of old-fashioned candies to deepen your appreciation for these delightful sweets!
Nutritional facts for Old-Fashioned Butter Mints
When indulging in old-fashioned butter mints, it’s helpful to be mindful of their nutritional characteristics. Here’s a quick overview to guide your sweet treat experience:
Calories
Each mint contains about 40 calories. While these bites are delightful, moderation is key if you’re watching your caloric intake.
Sugar
A typical old-fashioned butter mint has around 9 grams of sugar. It’s that sweetness that makes them so enjoyable, but if you’re tracking your sugar consumption, keep this in mind.
Fat
With roughly 2 grams of fat per mint, these candies aren’t the richest in terms of fat content. However, the buttery flavor means they’re not completely guilt-free either!
For more insights into the role of sugar in your diet, check out Harvard Health Publishing. Balancing treats like these with nutritious foods can really boost your overall wellness!
FAQs about Old-Fashioned Butter Mints
Can I make Old-Fashioned Butter Mints in advance?
Absolutely! One of the great things about old-fashioned butter mints is that they can be made ahead of time. In fact, preparing them a few days in advance allows the flavors to meld together beautifully. After you’ve shaped the mints, simply store them in an airtight container. They’ll remain fresh for up to two weeks, making them a perfect treat for gatherings or special occasions.
What are the best ways to store butter mints?
Storage is key to keeping your butter mints as delightful as they were the day you made them. Here are some tips:
- Airtight Container: Use an airtight container to keep them fresh, whether at room temperature or in the fridge.
- Cool, Dry Place: If storing at room temperature, keep them in a cool, dry area, away from sunlight.
- Freeze for Longevity: Did you know you can freeze them? Just make sure to separate layers with parchment paper before placing them in a freezer-safe bag.
For more storage strategies, check out The Spruce Eats.
Can I use different extracts or flavorings?
Yes, this is where the fun begins! While traditional recipes often call for peppermint extract, feel free to experiment with other flavors like vanilla, almond, or even coconut. Each extract will bring a unique twist to your old-fashioned butter mints, making them perfectly suited to your taste or themed parties. Just be cautious with quantities, as some extracts are stronger than others.
Don’t hesitate to get creative—your guests will appreciate the personal touch!
Conclusion on Old-Fashioned Butter Mints
In summary, old-fashioned butter mints are a delightful treat that brings a sense of nostalgia and whimsy to any occasion. Their creamy texture and sweet mint flavor make them a perfect confection for parties, weddings, or just a cozy evening at home. Plus, making these mints is simpler than you might think!
As you whip up a batch, think about personalizing them with colors or flavors—perhaps adding a touch of cocoa for a chocolate mint. Not only do they taste great, but they also make lovely homemade gifts! You can find more tips on creating your own variations at resources like Taste of Home. So why not gather your friends or family and share the joy of making these classic treats together? Enjoy!
PrintOld-Fashioned Butter Mints Recipe: Indulge in Homemade Delight
Learn how to make traditional Old-Fashioned Butter Mints that melt in your mouth. Perfect for any occasion!
- Prep Time: 15 minutes
- Total Time: 24 hours 15 minutes
- Yield: 24 mints
- Category: Candy
- Method: No-Bake
- Cuisine: American
Ingredients
- 2 cups powdered sugar
- 1/4 cup unsalted butter, softened
- 2 tablespoons milk
- 1/2 teaspoon peppermint extract
- Food coloring (optional)
Instructions
- In a mixing bowl, combine powdered sugar and softened butter until smooth.
- Add milk and peppermint extract, mixing until a dough forms.
- If desired, divide the dough and add food coloring to portions.
- Roll the dough into small balls and flatten them gently.
- Let the mints sit out to dry for about 24 hours.
Notes
- Serve these mints at parties or as a sweet treat for guests.
- They can also be gifted in decorative boxes.
Nutrition
- Serving Size: 1 mint
- Calories: 30
- Sugar: 7g
- Sodium: 1mg
- Fat: 1g
- Saturated Fat: 0.5g
- Unsaturated Fat: 0.5g
- Trans Fat: 0g
- Carbohydrates: 8g
- Fiber: 0g
- Protein: 0g
- Cholesterol: 5mg